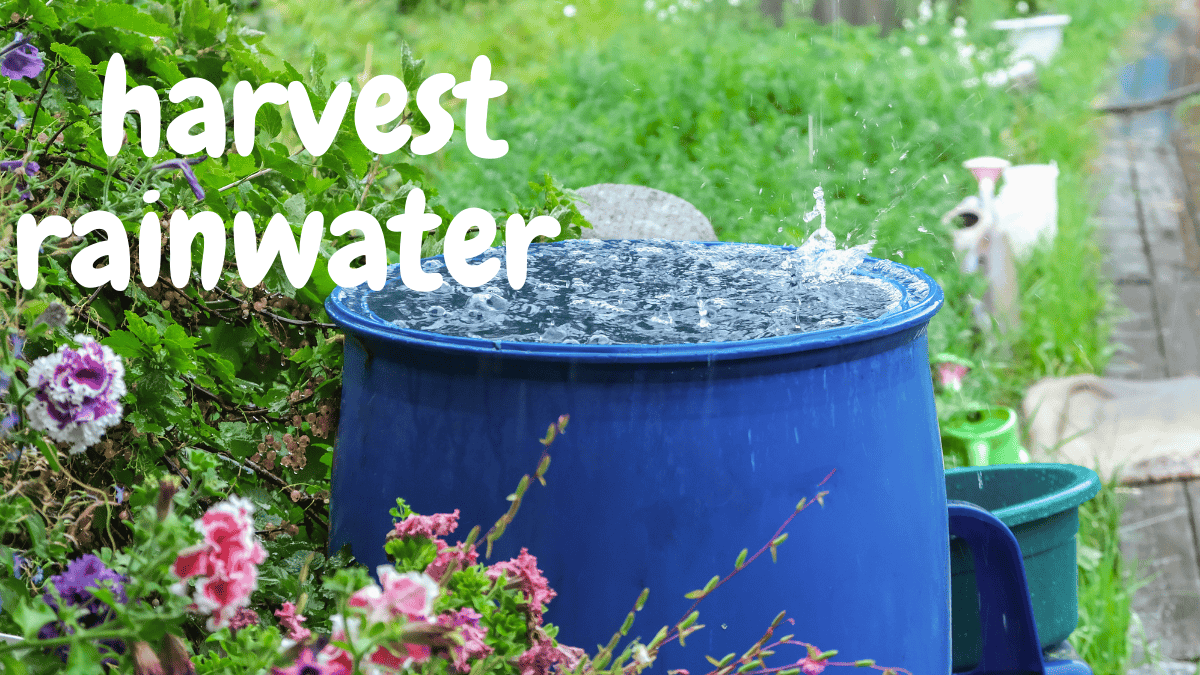
Introduction:
In today’s world, where environmental consciousness is on the rise, learning how to harvest rainwater at home has become a pivotal step towards sustainable living. Not only does it help conserve precious water resources, but it also offers a practical way to reduce your monthly water bills. Whether you’re a homeowner aiming to cut down on water usage or someone passionate about eco-friendly practices, setting up a rainwater collection system can be both rewarding and beneficial.
In this comprehensive guide, we’ll delve into the essentials of rainwater harvesting, explore its benefits, and provide a step-by-step approach to setting up your own system. We’ll also address common pitfalls and maintenance tips to ensure your system remains efficient. Let’s dive in!
Understanding to harvest rainwater
Rainwater harvesting involves collecting and storing rainwater that would otherwise flow off your roof and into storm drains. Instead of letting this valuable resource go to waste, you can capture, filter, and utilize it for various purposes, such as gardening, flushing toilets, and even drinking, provided it’s properly treated. While the concept might seem complex, it’s surprisingly straightforward once you grasp the basics.
Why Consider to harvest rainwater?
Before embarking on your rainwater harvesting journey, it’s essential to understand the compelling reasons behind it:
- Environmental Impact: By collecting rainwater, you reduce reliance on groundwater and municipal sources, which are often overused and can lead to droughts.
- Cost Savings: Utilizing rainwater for non-potable purposes like irrigation and toilet flushing can significantly lower your water bills.
- Self-Sufficiency: A rainwater system reduces dependence on public water supplies, especially in areas prone to water restrictions.
- Enhanced Garden Health: Rainwater is naturally soft and free from chemicals, making it ideal for nurturing plants and gardens.
Types of to harvest rainwater Systems
Choosing the right system depends on your water usage needs and preferences.
Here are some common types:
- Simple Barrel System: This basic setup involves connecting a barrel to your gutters to collect rainwater. It’s cost-effective but may have limited storage capacity.
- Dry System: In this system, water is directed from the roof into a large storage tank, with pipes emptying after each rain. It’s suitable for larger storage needs.
- Wet System: Pipes remain full and transport water to a storage tank located away from the house. This setup is ideal for larger properties or when the tank isn’t adjacent to downspouts.
Getting Started: Essential Components
To set up a basic rainwater harvesting system, you’ll need the following components:
- Catchment Area: Typically, your roof serves as the catchment area for collecting rainwater.
- Gutters and Downspouts: These channel rainwater from the roof into the storage system.
- First-Flush Diverter: This device diverts the initial, debris-laden rainwater away from the storage tank.
- Storage Tank: Depending on your needs, this could be a barrel, tank, or cistern. Ensure it has adequate storage capacity.
- Filter System: A basic mesh filter removes large debris, while advanced systems purify water for drinking.
- Pump (Optional): If you plan to use the water for irrigation or household purposes, a pump may be necessary.
Step-by-Step Guide to Setting Up Your Rainwater Harvesting System
Let’s walk through the process of setting up a simple barrel-based rainwater harvesting system:
- Choose the Right Location for Your Barrel or TankPosition your storage tank or barrel near a downspout. Opt for a shaded area to keep the water cool and inhibit bacterial growth. Ensure the ground is level and stable to support the tank’s weight.
- Set Up Your Gutters and DownspoutsInstall gutters along the roof’s edge to collect rainwater and direct it to the downspouts. Regularly clear them of debris like leaves and twigs to maintain water flow. Consider adding gutter guards or leaf screens for easier maintenance.
- Install the First-Flush DiverterAttach a first-flush diverter to the downspout. This device diverts the initial, dirtier rainwater away from the storage tank. It’s readily available at most hardware stores and easy to install.
- Connect Your Downspout to the Storage TankSecurely connect the downspout to your barrel or tank to prevent leaks. For a barrel system, consider using a downspout diverter kit, which allows water to flow into the barrel when it rains and back into the drain when the barrel is full.
- Add a Filtration System Place a mesh filter on top of the barrel to keep out leaves, insects, and large debris.
Certainly! Let’s continue with the setup and maintenance of your rainwater harvesting system, along with additional insights and a conclusion.
- Install a Spigot or Pump
For easy access to the collected water, install a spigot near the bottom of the barrel. This allows you to fill watering cans or connect a hose. If your storage tank is larger or located far from where you need the water, consider installing a pump. Choose a pump size based on your intended water usage, whether for irrigation or household needs.
Maintenance Tips for Your to harvest rainwater System
To keep your system running efficiently, regular maintenance is crucial. Here’s a checklist to help you maintain your rainwater harvesting setup:
- Clean Gutters Regularly: Every two months, clear gutters of leaves, twigs, and debris. This is especially important in the fall when leaves can quickly clog the system.
- Inspect the First-Flush Diverter: Clean the diverter every couple of months to ensure it functions properly. It reduces the amount of debris entering your tank by diverting the first, dirtier water from your roof.
- Check the Filter System: Regularly clean mesh screens to remove larger debris. For drinking water systems, replace filter cartridges as needed to maintain water quality.
- Test for Algae: If your tank is exposed to sunlight, check for algae growth. If algae are present, clean the tank interior and consider relocating it to a shadier spot or covering it.
- Flush the System: Every few months, completely empty the tank to remove sediment and contaminants. Many systems have a “tank drain” option to facilitate this process.
Common Mistakes to Avoid
While to harvest rainwater is relatively straightforward, beginners may encounter some common pitfalls. Avoid these to save time, money, and frustration:
- Underestimating Tank Size: Many start with a small barrel only to find it fills quickly. Estimate your water needs carefully and opt for a larger tank if possible.
- Ignoring Local Regulations: Check with local authorities to ensure there are no restrictions on rainwater harvesting in your area before setting up a system.
- Neglecting Maintenance: Regular maintenance is essential to prevent system contamination or blockages. Keep your system in top shape with routine checks.
- Placing the Tank in Direct Sunlight: Sunlight can promote algae growth, making the water unsuitable for use. Choose a shaded location or cover the tank to prevent this.
Long-Term Benefits of to harvest rainwater
While setting up a rainwater harvesting system requires some initial effort, the long-term benefits are substantial:
- Eco-Friendly Living: Rainwater harvesting reduces the demand on natural resources, making it an excellent choice for environmentally conscious individuals.
- Lower Water Bills: Over time, the savings on your water bills will accumulate, helping you reduce household expenses.
- Improved Plant Growth: Rainwater is naturally soft, pH-balanced, and free of salts and chlorine, making it ideal for plants.
- Emergency Backup: In case of water shortages or emergencies, having a reserve of collected rainwater can be invaluable.
FAQs
- Is rainwater safe to drink?
- Rainwater can be safe to drink if properly filtered and treated. Use a multi-stage filtration system and consider UV or chemical treatments for safety.
- How much rainwater can I collect?
- The amount depends on your roof size and local rainfall. On average, a 1,000-square-foot roof can collect about 600 gallons of water per inch of rain.
- Do I need a permit for to harvest rainwater?
- Regulations vary by location. Check with local authorities to determine if permits are required in your area.
- Can I use rainwater for all household needs?
- Rainwater is suitable for non-potable uses like irrigation and toilet flushing. For potable uses, ensure proper filtration and treatment.
- How do I prevent mosquitoes in my rainwater tank?
- Use fine mesh screens on tank openings and ensure all connections are sealed to prevent mosquito entry.
Pros and Cons of to harvest rainwater
| Pros | Cons |
|---|---|
| Reduces water bills | Initial setup cost |
| Environmentally friendly | Requires regular maintenance |
| Improves plant health | Limited by local rainfall |
| Provides emergency water supply | Potential for algae growth |
| Promotes self-sufficiency | May require permits or regulations |
Conclusion: A Step Towards Sustainable Living
Implementing to harvest rainwater system at home is a significant step towards sustainable living. By capturing and utilizing rainwater, you not only contribute to environmental conservation but also enjoy practical benefits like reduced water bills and improved garden health. Whether you’re motivated by cost savings, environmental concerns, or a desire for self-sufficiency, rainwater harvesting offers a viable solution.As you embark on this journey, remember that the key to a successful to harvest rainwater system lies in careful planning, proper installation, and regular maintenance. By avoiding common pitfalls and adhering to best practices, you can ensure that your system remains efficient and effective for years to come.Moreover, rainwater harvesting fosters a sense of community sustainability. By setting an example, you can inspire neighbors and friends to adopt similar practices, collectively contributing to a more sustainable future. As more individuals embrace rainwater harvesting, the cumulative impact on water conservation and environmental preservation can be substantial.In conclusion, learning how to harvest rainwater at home is not just about saving money or water; it’s about making a conscious choice to live in harmony with our environment. By taking this step, you become part of a growing movement towards sustainable living, ensuring that future generations inherit a healthier planet. So, gather your materials, follow the steps outlined in this guide, and start reaping the benefits of rainwater harvesting today. Your garden, wallet, and the planet will thank you.
